Articles
Dec 2008 — Bridge area top repair of 1957 Martin D-28
 This guitar came into the shop with some real damage and weakening to the bridge are of the top due to poor past repairs. There was a non-original and greatly oversized bridge on the top and a non-original oversized bridge plate, as well as some loose bracing. The top appeared to be rotating a bit more than typical as well. The goal of the owner of the guitar was to remove the bridge
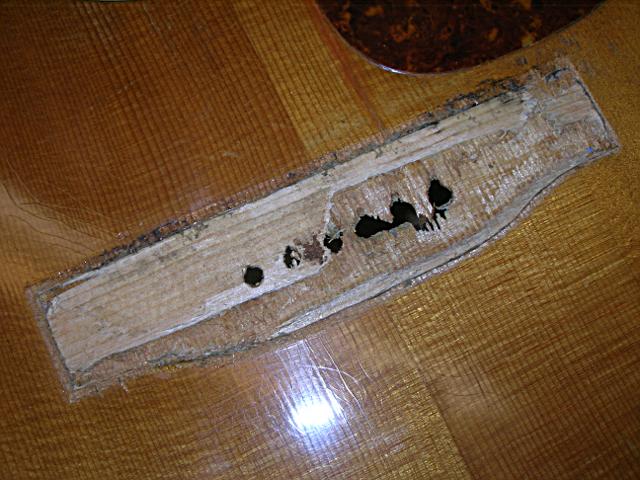
 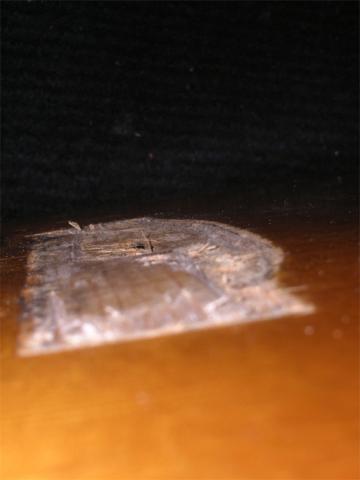 and bridge plate, replacing them with more appropriate examples, regluing the bracing and restoring stability and a better overall look to the top. Though the oversized bridge did leave a footprint that would have to be dealt with cosmetically through touch up the biggest issue with regard to top stability was revealed when the bridge was removed. The area beneath the bridge had been seriously degraded during what must have been several previous removals and reglues of various bridges on the guitar. About 1/3 to ½ of the original top thickness was gone (along with a good deal of stiffness) through tear out of the grain and a previous repair attempt included someone trying to graft in a piece of spruce under the bridge to fill the deficit. Pics 1 and 2 illustrate this deficit and the previous repair attempt.
The first step of this repair was to replace the non-original bridge plate, which was only partially glued in, in order to add some stability to the top for the removal of all of the grain tear out and 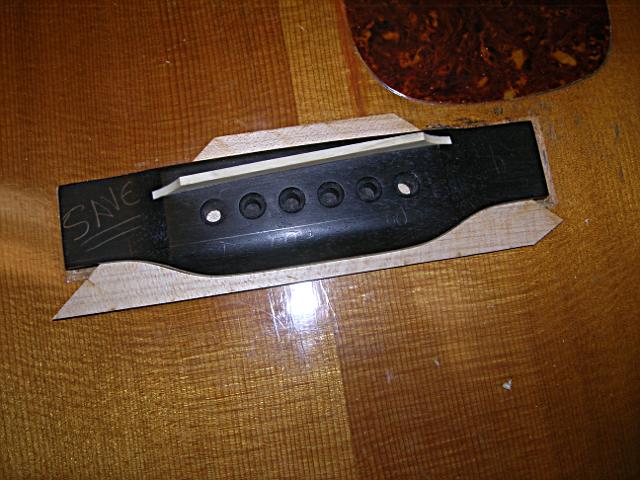 the poorly done spruce graft. Heat was applied to the plate using an electric heating pad made specifically for this type of job and once the glue joint was heated well the bond broke easily. Once the replacement plate was removed an new plate was made. The idea behind the new plate was to be large enough to skip completely over the foot print of the
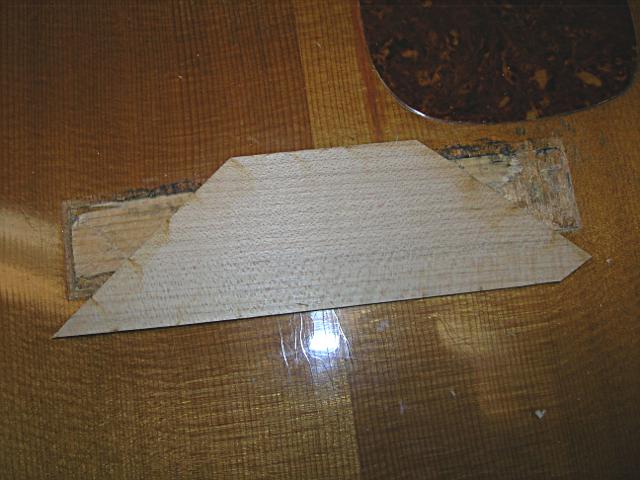 bridge both front and back to compensate for the loss of stiffness from the top damage. The bridge plate was made to be slightly larger than original but smaller than the previous replacement. The overlap of the new bridge plate material with the sound spruce on both the front and back edge of the bridge would insure adequate support for the weakened area.
Next, the poor spruce graft under the bridge had to be removed and the damaged area of the spruce prepared to accept a new spruce graft. Heat was used again to loosen this previous graft. 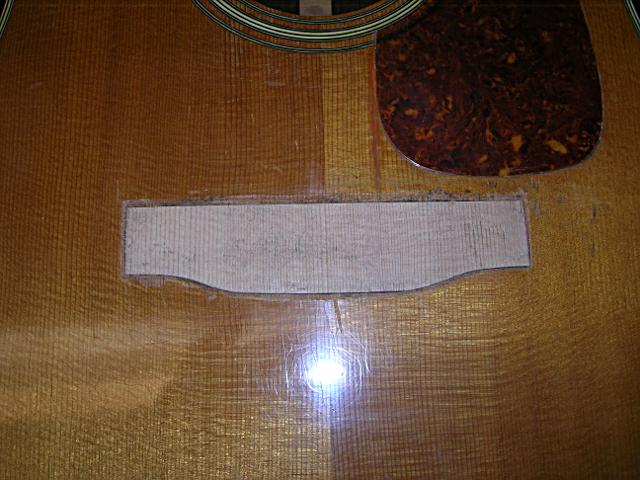 Once that graft was removed first glued back into place any spruce that had torn out but was still present and could be laid back down well. Then, using a sharp chisel the un-even areas of damage were leveled out (removing as little material as possible) in order to provide a good gluing surface for the new spruce graft. The graft was then made to fit the space created and glued in place with about 1/32”
 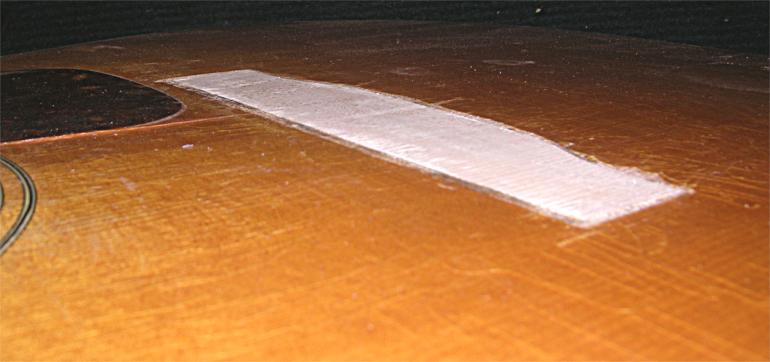 more height than was needed to allow for trimming. After the glue was dry the top of the graft was trimmed flush with the surrounding area of the top using a sharp chisel and a finger plane. The new graft was almost the exact same profile as a factory original bridge for this guitar.
Now it was time to make a bridge. Starting from an ebony blank the task was to make a belly bridge with the correct factory look that would be slightly larger than the original but not as big as the bridge previously on the guitar. As with the bridge plate replacement, it was deemed important to have some overlap at the front and back edge of the bridge on to healthy, undamaged spruce. Luckily, when removing the previous bridge there was no significant damage to the spruce itself at the front and back edges of the bridge location, just some finish loss.
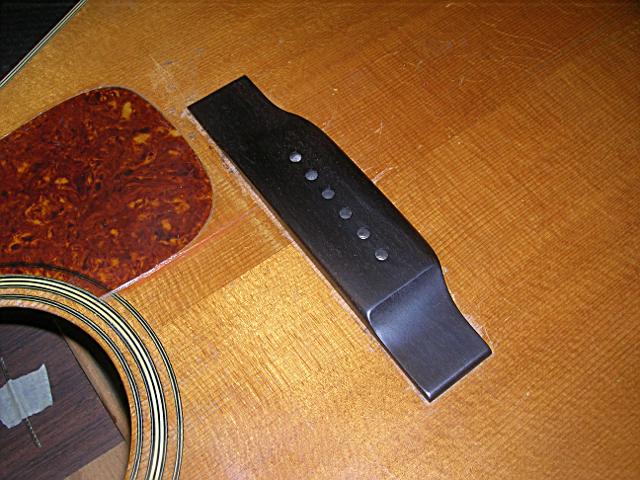 Once completed the bridge left some bare wood visible at the front and back edge from the footprint of that previous bridge. Most of the over-size
 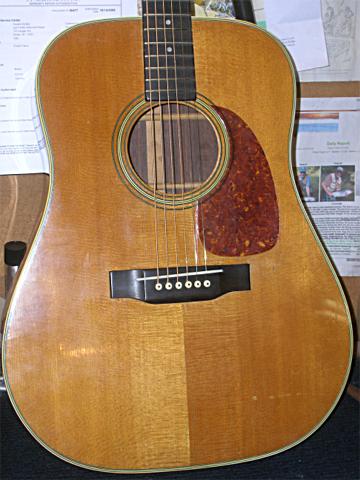 dimension was added to the front edge of the bridge relative to the bridge pin location, as there was more top damage to try to disguise along that front edge. Nevertheless, the replacement bridge ended up being about 1/16” larger than an original all the way aroundit’s perimeter. The bare wood visible from the shadow of the last bridge was touched up with lacquer along the front and back edges once the bridge was glued in
 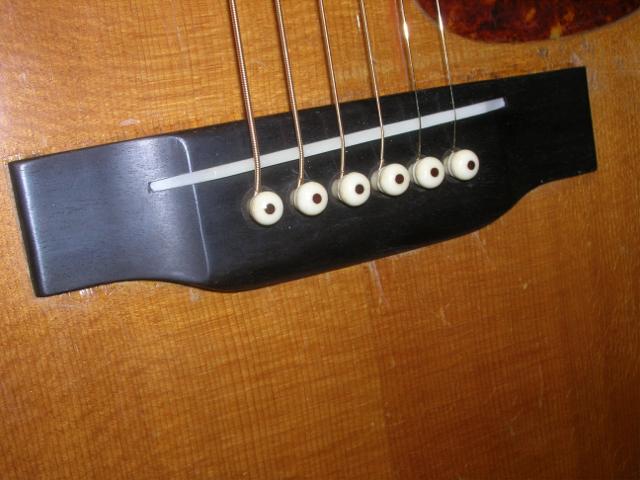 place and the saddle slot routed. The finished result was a dramatic cosmetic improvement but also in terms of stability. With the top repair and brace reglue the guitar top stayed very flat under tension of medium strings and did not suffer tonally from the repair.